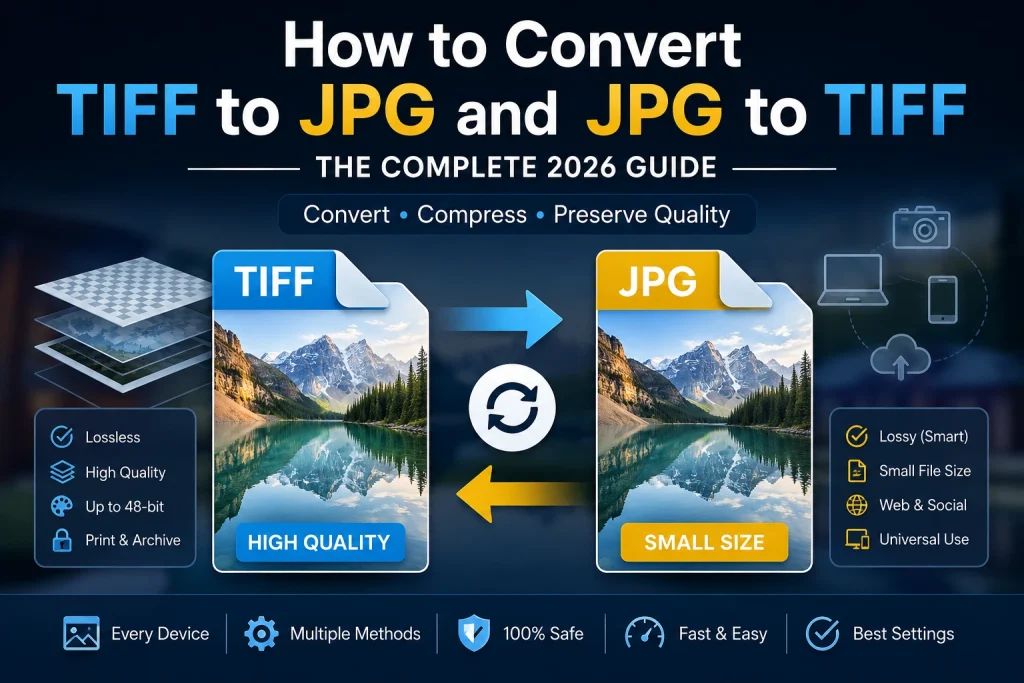
TIFF format is considered the highest-quality option when it comes to professional photography and printing – every pixel in TIFF is stored uncompressed. However, a TIFF photo file may be 20 to 100MB in size and is not compatible with the majority of basic programs and websites. The TIFF to JPG conversion allows reducing the file size by 95 percent or even more, without losing any quality of an image. This guide includes the process of both TIFF to JPG and JPG to TIFF conversions on all types of devices.
What Is a TIFF File?
TIFF stands for Tagged Image File Format. It was developed in the 1980s as a standard format for high-quality image storage and professional print workflows. Unlike JPG which throws away some image data to save space, TIFF stores images losslessly — every single pixel is preserved exactly as captured.
TIFF is used heavily in:
- Professional photography — Many cameras can shoot RAW and save to TIFF. Photographers use TIFF as an editing master file because quality never degrades no matter how many times you save it.
- Print production — Print shops, publishers, and design agencies work with TIFF because it supports high colour depth, multiple layers, and ICC colour profiles needed for accurate print reproduction.
- Medical imaging — TIFF is used in medical scans and scientific imaging because of its lossless precision.
- Archiving — Libraries, museums, and institutions use TIFF to archive documents and photographs because nothing is lost.
- Scanning — Desktop scanners often default to TIFF for the highest quality scans.
The tradeoff for all this quality is file size. A full-resolution TIFF from a modern camera can easily be 50 to 100MB. That makes TIFF completely impractical for sharing, emailing, uploading to websites, or everyday use.
TIFF vs JPG — Key Differences
| Feature | TIFF | JPG |
|---|---|---|
| Compression | Lossless or None | Lossy |
| File Size | Very large — 20 to 100MB | Small — 200KB to 5MB |
| Quality | Perfect — no data loss | Excellent at high settings |
| Transparency | Supported | Not supported |
| Layers | Supported | Not supported |
| Browser Support | Not supported natively | Universal |
| Software Support | Professional apps | Universal |
| Print Support | Professional standard | Widely accepted |
| Colour Depth | Up to 48-bit | 24-bit |
| Best For | Professional editing, print, archiving | Sharing, web, email, everyday use |
TIFF wins on quality — it’s the better format when quality is the only consideration. JPG wins on everything else — compatibility, file size, speed, and practicality for everyday use.
When Should You Convert TIFF to JPG?
Most people working with TIFF files need to share, upload, or distribute those images at some point. Here’s when converting to JPG makes sense:
- You need to email the image — A 60MB TIFF is impossible to email. Converting to JPG at 85 percent quality brings it down to under 3MB while looking identical on screen.
- You need to upload to a website or social media — Most platforms don’t accept TIFF uploads. JPG works everywhere.
- You need to share the image with someone who can’t open TIFF — TIFF requires professional software to open. JPG opens on every phone, computer, and tablet without any special software.
- You need faster web images — Websites can’t serve TIFF images — browsers don’t support them natively. JPG is the standard for web photography.
- You want to save storage space — A folder of TIFF files from a photoshoot can be 10GB. The same images as JPG take up 500MB.
- A platform specifically requires JPG — Many client portals, stock photo agencies, and print ordering systems accept JPG but not TIFF.
When Should You Convert JPG to TIFF?
Going the other direction — JPG to TIFF — makes sense in specific professional situations.
- Your print shop requires TIFF — Some professional print services specifically require TIFF files for large-format print jobs.
- You need to edit the image extensively — TIFF is lossless so editing and re-saving it multiple times doesn’t degrade quality. Converting a JPG to TIFF before a heavy editing session prevents the quality loss that comes from repeatedly saving a JPG.
- You’re preparing files for archiving — Libraries, institutions, and archiving projects sometimes require TIFF as the preservation format.
- Your design workflow requires TIFF — Some professional design and publishing workflows specifically use TIFF for image assets.
- A scanner gave you JPG but you need TIFF for a specific system — Some document management systems require TIFF input.
One important thing to understand — converting JPG to TIFF doesn’t recover quality that JPG already removed. The TIFF file will be larger but won’t look better than the JPG source. TIFF preserves whatever quality the JPG currently has, but can’t add back what lossy compression already removed.
TIFF vs JPG vs PNG — Which to Use When
| Use Case | Best Format | Why |
|---|---|---|
| Professional photo editing master | TIFF | Lossless — edits don’t degrade quality |
| Large format print | TIFF | Supports high colour depth and ICC profiles |
| Photo archiving | TIFF | Nothing is lost — future proof |
| Sharing photos with friends | JPG | Small file — opens everywhere |
| Website photos | JPG or WebP | Small and universally compatible |
| Social media images | JPG or WebP | Platform optimised |
| Email attachments | JPG | Smallest compatible format |
| Logo for web | PNG or SVG | Supports transparency and sharp edges |
| Everyday phone photos | JPG | Practical size and compatibility |
For the best web performance, converting images to WebP gives even smaller files than JPG at the same quality. Our article on how to convert JPG to WebP covers why WebP is the best format for web images in 2026.
How to Convert TIFF to JPG Free Online
The Fastest Method — Any Device
Using a free online converter is the quickest way to convert TIFF to JPG without any professional software.
- Go to imageconvertertools.com/tiff-to-jpg
- Click upload or drag your TIFF file into the box
- The tool converts automatically
- Click Download to save your JPG file
You can upload multiple TIFF files at once and convert them all in a single batch. This is especially useful after a photoshoot when you have dozens of TIFF files that all need JPG versions for sharing.
What should you know about uploading large TIFF files? A file size of large TIFF files generated by professional camera can range between 50 to 100MB each. The time taken to upload the file will depend on your Internet speed. If you have to upload large numbers of large TIFF files, the methods described below can prove to be quicker.
Pros:
- Works on Windows, Mac, iPhone, Android, and Chromebook
- Converts multiple files at once
- Free — no watermarks, no sign-up, no limits
- No professional software needed
- Results typically in under 30 seconds
Cons:
- Upload time can be slow for very large TIFF files
- Needs internet connection
- Less control over colour profiles and output settings
- Not ideal for sensitive or confidential files
How to Convert TIFF to JPG on Windows
Using Paint on Windows
Paint handles basic TIFF to JPG conversion on Windows without any extra software.
- Right-click your TIFF file
- Select Open with > Paint
- Go to File > Save As
- Choose JPEG Picture
- Name your file and click Save
This applies to simple conversions. The paint program offers no quality control and can’t convert multilayer TIFF images; it only supports single layer TIFF images. In case of professional TIFF images obtained from the camera or scanner, the online conversion tool performs better.
Using Windows Photos App
- Open the TIFF in Windows Photos — double-click the file
- Click the three-dot menu at the top right
- Select Save As
- Change the file type to JPEG
- Click Save
Same limitations as Paint — no quality control, flat TIFFs only. For most everyday TIFF files this works fine.
Using Microsoft Office on Windows
If you have Microsoft Word, PowerPoint, or any Office application, you can use Insert > Pictures to insert a TIFF, then right-click the inserted image and select Save as Picture to export as JPG. This is a workaround but it works when other methods don’t.
Batch Converting TIFF to JPG on Windows
Windows does not have a batch TIFF to JPG converter inbuilt into the operating system. Batch conversion is performed adequately by the online converter when it comes to TIFF files with moderate sizes. However, for huge TIFF files that are usually used professionally, one can use software such as IrfanView which is free.
How to Convert TIFF to JPG on Mac
Using Preview on Mac — Best Built-In Option
Preview on Mac is genuinely excellent for TIFF to JPG conversion. It handles all types of TIFF files including multi-layer ones, gives you a quality slider, and preserves colour profiles during export.
- Open your TIFF file in Preview — double-click it
- Go to File > Export
- Click the Format dropdown
- Select JPEG
- Use the Quality slider — set it to 85 for the best balance of quality and file size
- Click Save
The quality slider is what makes Preview valuable here. At 85 percent quality, the JPG is visually identical to the TIFF at normal viewing sizes but the file is 90 to 95 percent smaller.
Batch Converting TIFF to JPG on Mac
Preview handles batch TIFF to JPG conversion natively — one of the most useful features for photographers and designers.
- Select all your TIFF files in Finder
- Right-click and choose Open With > Preview
- Press Command + A to select all images in the Preview sidebar
- Go to File > Export Selected Images
- Click Options and select JPEG
- Set quality to 85
- Choose your destination folder
- Click Choose
All TIFF files convert to JPG simultaneously. For a photoshoot with 50 TIFF files, this typically completes in under two minutes on a modern Mac.
Tips for Photographers on Mac
- Set quality to 85 for sharing and web use — this is visually identical to the TIFF at normal sizes
- Set quality to 90 to 95 for client deliveries or print orders where quality is critical
- Preview preserves the colour profile from the TIFF — sRGB TIFFs export as sRGB JPGs, which is correct for web use
- For very large RAW-derived TIFF files (50MB+), Preview handles them well but may take a moment to process each file
How to Convert TIFF to JPG on iPhone
Most phones can’t open TIFF files natively. The browser method is the most practical approach on iPhone.
Using Safari on iPhone
- Open Safari on your iPhone
- Go to imageconvertertools.com/tiff-to-jpg
- Tap the upload area
- Select your TIFF from Files or iCloud Drive
- Tap Convert
- Download the JPG to your Files app
TIFF files are typically not in your Photos library on iPhone — they’re usually in Files, iCloud Drive, or Dropbox. Navigate to wherever your TIFF file is stored when selecting it to upload.
Tips for iPhone Users
- Large TIFF files (20MB+) take longer to upload on mobile connections — use Wi-Fi for best results
- The converted JPG saves to Files — tap Share > Save Image to move it to your Photos library
- If the TIFF is in Dropbox or Google Drive, you can access it through the Files picker when uploading
How to Convert TIFF to JPG on Android
- Open Chrome on your Android device
- Go to imageconvertertools.com/tiff-to-jpg
- Tap upload and select your TIFF from your storage
- Tap Convert
- Download the JPG to your Downloads folder
Works on all Android devices. TIFF files are usually found in internal storage, an SD card, or cloud storage rather than the default gallery. Navigate to them through the file picker.
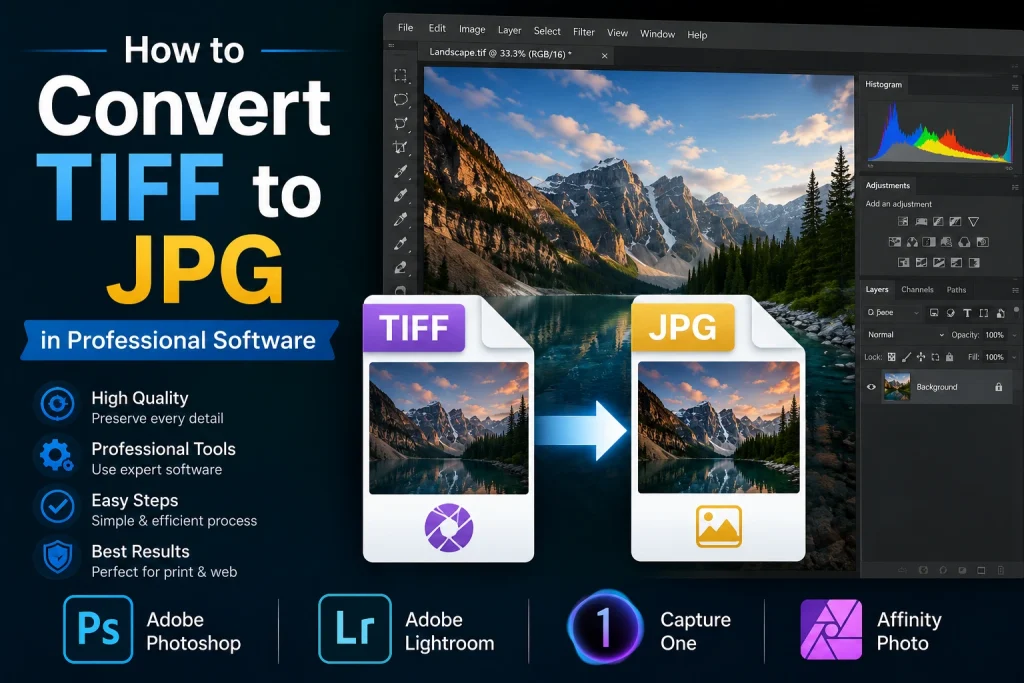
How to Convert TIFF to JPG in Professional Software
In Adobe Photoshop
Photoshop is the most common professional tool for working with TIFF files. Converting to JPG in Photoshop gives you the most control over every aspect of the output.
- Open the TIFF file in Photoshop — File > Open
- If the file has multiple layers, flatten it first — Layer > Flatten Image
- Go to File > Export > Export As
- Select JPG as the format
- Set the quality — 80 to 90 is good for most purposes
- Check the colour space — sRGB for web use, Adobe RGB for print
- Click Export All
- Choose your save location
Using Save For Web in Photoshop
For web-optimised JPG output from TIFF:
- Go to File > Export > Save for Web (Legacy)
- Select JPEG in the top right
- Set quality — 60 to 80 for web is typically sufficient
- Check the colour profile setting — use Convert to sRGB for web
- Click Save
Save for Web gives you the most control over web-optimised output. It shows you the estimated file size at each quality setting before you commit.
In GIMP — Free Alternative to Photoshop
GIMP is a free, open-source image editor that handles TIFF to JPG conversion well.
- Open your TIFF in GIMP — File > Open
- Go to File > Export As
- Change the file extension to .jpg in the filename
- Click Export
- Set the JPEG Quality in the dialog that appears — 85 is a good default
- Click Export again
GIMP is completely free and handles professional TIFF files including those with layers and colour profiles. It’s a solid alternative to Photoshop for TIFF work if you don’t have a Creative Cloud subscription.
How to Convert JPG to TIFF
Online Conversion
- Go to imageconvertertools.com/tiff-to-jpg — most tools handle both directions
- Upload your JPG file
- Select TIFF as the output format
- Download the TIFF
The resulting TIFF will be much larger than the JPG source — this is normal and expected. A 500KB JPG might become a 15 to 20MB TIFF. The visual quality of the TIFF matches the JPG exactly — converting to TIFF doesn’t add back quality that JPG already removed.
Converting JPG to TIFF on Mac
- Open the JPG in Preview
- Go to File > Export
- Select TIFF from the Format dropdown
- Click Save
Preview creates a lossless TIFF from the JPG. The TIFF will be significantly larger than the JPG but is now in a format suitable for professional print and archiving workflows.
Converting JPG to TIFF on Windows
- Open the JPG in Paint
- Go to File > Save As
- Look for TIFF in the file type options — if it’s not listed, use the online converter
- Click Save
Not all versions of Paint support TIFF export. If TIFF isn’t in the Save As list, use the online converter or IrfanView (free software) which handles TIFF export on Windows reliably.
TIFF to JPG — How Much Quality Is Actually Lost?
This is the most important question for photographers and designers considering converting their TIFF master files to JPG. Here’s an honest breakdown:
| Quality Setting | Visible Difference | File Size Reduction from TIFF |
|---|---|---|
| 95% | Invisible — clinical comparison needed | 85–90% smaller |
| 85–90% | Invisible at normal viewing | 90–93% smaller |
| 75–85% | Invisible on screen | 93–95% smaller |
| 65–75% | Barely visible on very close inspection | 95–97% smaller |
| Below 60% | Visible — blurring and colour artefacts | 97%+ smaller |
When it comes to sharing, delivering to the client and using on the web – go for 85 percent quality. When it comes to professional print – 90 to 95 percent quality will do fine. For social media and email – 75 to 80 percent quality is more than enough.
What photographers need to know – at 85 percent quality, you would have to zoom in to 200 percent and actively search for compression artifacts to find any difference between the JPEG and TIFF images. Otherwise they look the same at any screen size.
TIFF Colour Profiles — What to Know
This is something photographers specifically need to be aware of when converting TIFF to JPG.
Professional TIFF files often use Adobe RGB or ProPhoto RGB colour profiles — wider colour spaces that capture more colours than standard sRGB. When you convert to JPG for web use, the colour profile matters.
For web use — convert to sRGB:
Most screens, browsers, and platforms use sRGB. If you export a TIFF with Adobe RGB colour profile as a JPG without converting the profile, colours may look washed out or inaccurate in web browsers.
For print — keep Adobe RGB:
If the JPG is going to a professional print service that supports Adobe RGB, keep that colour profile. It gives the printer more colour information to work with.
How to handle colour profiles:
- In Photoshop — use Edit > Convert to Profile to convert to sRGB before exporting for web
- In Preview on Mac — Preview handles colour profile conversion automatically when exporting
- In GIMP — check the colour profile settings in Image > Mode before exporting
- With online converters — most convert to sRGB automatically which is correct for web use
Batch Converting TIFF Files — Best Practices
Professional photographers often come back from a shoot with 50 to 200 TIFF files that all need JPG versions. Here’s the most efficient workflow:
Step 1 — Decide on output quality before starting. For client delivery, 90 percent. For web gallery use, 85 percent. For social media and sharing, 80 percent. Decide once and apply consistently to the whole batch.
Step 2 — Choose your batch method. Preview on Mac handles batches of any size for free. The online converter works for moderate batches. For very large batches of very large files, professional tools like Lightroom or Bridge handle it most efficiently.
Step 3 — Organise output into a separate folder. Never save JPG conversions into the same folder as your TIFF masters. Keep originals in one folder, converted JPGs in another. This prevents accidental deletion of master files.
Step 4 — Check a sample before committing. Convert 2 or 3 representative images first and check them at 100 percent zoom. Confirm quality is acceptable before running the full batch.
Step 5 — Compress further if needed for web. After converting to JPG, run images through our Image Compressor if they still need to be smaller for web use. This reduces file size further without any visible quality loss at the sizes web images display at.
Common TIFF Conversion Mistakes to Avoid
Converting your only copy of a TIFF to JPG and then deleting the TIFF. Never delete the TIFF master. Keep it as your archive copy. JPG is for distribution — TIFF is for preservation. Storage is cheap. Losing a master file is permanent.
Converting TIFF to JPG at low quality for “web use” and then using the same file for print. Create separate JPG files for different purposes — a high-quality version (90%+) for print orders and a web-optimised version (80 to 85%) for websites and sharing. Don’t compromise print quality for web file size.
Ignoring colour profiles. If your TIFF uses Adobe RGB and you export to JPG without converting to sRGB for web, colours will look wrong in browsers. Always check the colour profile when converting professional TIFF files.
Using multi-layer TIFF files with basic converters. TIFF supports layers — Photoshop often saves layered TIFFs. Basic tools like Paint and some online converters may only export the flattened composite. If your TIFF has layers and the output looks wrong, flatten the image first in Photoshop or GIMP before converting.
Uploading TIFF files directly to social media. Most social platforms reject TIFF files entirely. Some accept them but compress them aggressively — worse than if you’d uploaded a good JPG directly. Always convert to JPG before uploading to any social platform.
Frequently Asked Questions
1. How do I convert TIFF to JPG for free?
Go to imageconvertertools.com/tiff-to-jpg, upload your TIFF, and download the JPG. Completely free — no sign-up, no watermarks, no file limits. Works on any device. On Mac, Preview also converts TIFF to JPG for free with no internet needed and gives you quality control.
2. How much smaller is JPG than TIFF?
At 85 percent quality, JPG is typically 90 to 95 percent smaller than TIFF. A 50MB TIFF photograph becomes around 2 to 3MB as JPG — with no visible quality difference at normal viewing sizes. At 80 percent quality, the same file might be under 2MB.
3. Does converting TIFF to JPG lose quality?
Yes — JPG uses lossy compression. But at 85 percent quality the difference is invisible at normal screen viewing sizes. You’d need to zoom in significantly and specifically look for artefacts to see any difference. For professional use where print quality matters, use 90 to 95 percent quality settings.
4. How do I convert TIFF to JPG on Mac?
Open the TIFF in Preview, go to File > Export, select JPEG, set quality to 85 percent, and save. For multiple files, open all TIFFs in Preview, select all in the sidebar, use File > Export Selected Images with JPEG at your chosen quality setting.
5. How do I convert TIFF to JPG on Windows?
Right-click the TIFF, select Open with > Paint, go to File > Save As, choose JPEG Picture, and save. For multiple files or files that don’t open correctly in Paint, use the online converter — upload all TIFFs together and download all JPGs in one batch.
6. Can I convert TIFF to JPG on iPhone?
Yes. Open Safari, go to imageconvertertools.com/tiff-to-jpg, upload your TIFF from Files or iCloud Drive, and download the JPG. Use Wi-Fi for large TIFF files — they can be 50MB or more and upload slowly on mobile data.
7. Does converting JPG to TIFF improve quality?
No. Converting JPG to TIFF makes the file larger but doesn’t recover quality that JPG already removed through lossy compression. The TIFF preserves the JPG quality exactly as it is — it doesn’t add detail back. Only use JPG to TIFF conversion when a specific workflow requires TIFF format.
8. What quality setting should I use for TIFF to JPG?
85 percent for sharing, web use, and client galleries. 90 to 95 percent for professional print orders or when quality is critical. 80 percent for social media and email where file size matters more than absolute quality. Never go below 70 percent — compression artefacts become clearly visible.
9. How do I batch convert TIFF to JPG?
On Mac, open all TIFFs in Preview, select all in the sidebar, use File > Export Selected Images with JPEG and your chosen quality. This handles any batch size efficiently. For Windows and other devices, use the online converter — upload all TIFFs at once and download all JPGs together.
10. Should I keep TIFF files after converting to JPG?
Yes — always. Keep TIFF files as your master archive copies. JPG is for distribution — sharing, uploading, emailing. If you need to re-convert at a different quality or for a different purpose later, you need the original TIFF. Deleting TIFF masters is a mistake many photographers regret. Storage is cheap — keep the originals.
Conclusion
TIFF is the proper format for everything that matters – professional image editing, print production and archiving. JPG is the proper format for everything else – uploading, emailing, and posting. It is important to be able to convert from one format to another because it helps have the best of both worlds – high quality masters in TIFF and more versatile JPG files whenever necessary.
The online conversion tool does all the job in seconds with no installation necessary. Preview is the best free option for Mac – quick and quality-controlled, batch processing of unlimited amount of images is available. For TIFF files with several layers and embedded color profiles Photoshop and GIMP are the only solution.
It is crucial to keep the original TIFF files untouched. JPG can be used for sharing purposes but the TIFF masters should be saved always. The recommended quality level for web pictures is 85 percent because it provides files 90-95 percent lighter in size than TIFF but without any loss in quality.
Use our free tools to convert in either direction — TIFF to JPG and TIFF to PNG — no sign-up, no watermarks, batch conversion supported, completely free on every device.