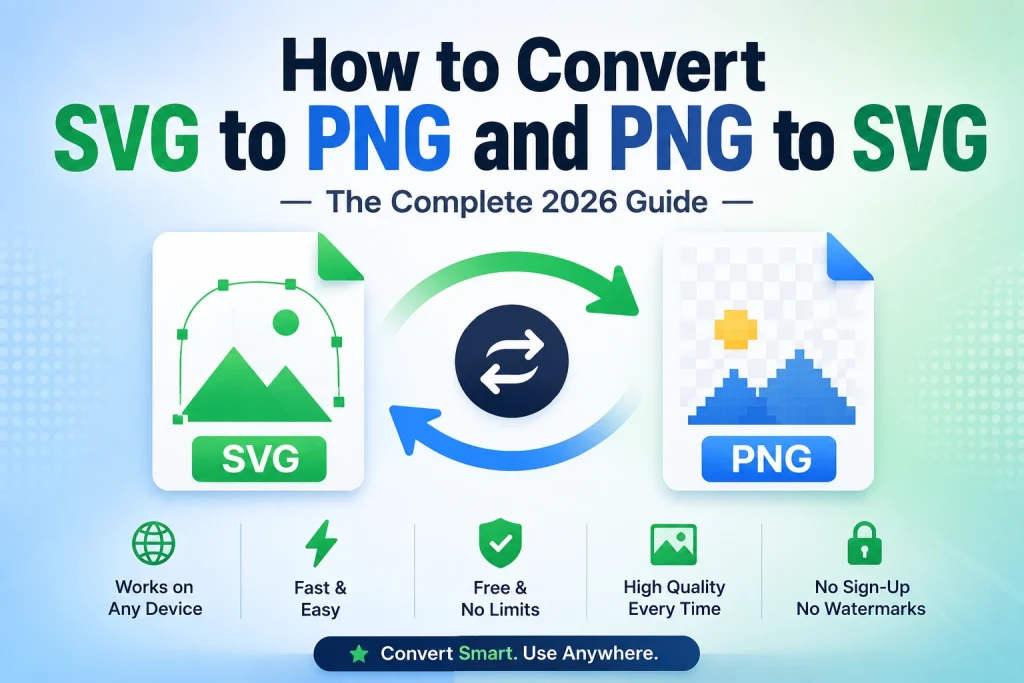
SVG files are perfect for logos and icons because they can be resized to any dimension without losing quality. But SVG files won’t open in most apps, won’t upload to most platforms, and break in places that only accept standard image formats. PNG files are the opposite – they open everywhere but get pixelated if you scale them up. Being able to convert SVG to PNG and vice versa gives you the flexibility to use your images anywhere, at any size, on any platform.
This guide shows how to convert SVG to PNG and how to convert PNG to SVG on any device using free tools with practical tips to get sharp results each time.
SVG vs PNG — What Is the Difference?
Before jumping into conversions, understanding what makes these two formats different helps you pick the right one for each situation.
SVG means Scalable Vector Graphics. It describes an image in terms of mathematical paths and shapes, not pixels. An SVG image is made of paths, not dots, so it is perfectly crisp at any size. It remains sharp when you scale it from a tiny favicon to a huge billboard. SVG files are also often very small – a logo that is 200KB as a PNG might be 5KB as SVG.
PNG is a raster format , so it stores images as a fixed grid of pixels . PNG supports full transparency and lossless compression, so it is the standard for logos, icons, and graphics that need to work everywhere. However PNG has a fixed resolution. If you blow it up larger than the original size it will become blurry and pixelated.
| Feature | SVG | PNG |
|---|---|---|
| Format Type | Vector — paths and shapes | Raster — pixels |
| Scalability | Scales to any size perfectly | Fixed resolution — blurs when enlarged |
| Transparency | Supported | Supported |
| File Size | Very small for simple graphics | Larger |
| Browser Support | All modern browsers | Universal |
| Software Support | Design tools, modern apps | Universal |
| Print Support | Professional print ready | Widely accepted |
| Animation | Supported with CSS | Not supported |
| Best For | Logos, icons, illustrations | Photos, screenshots, universal use |
| Editing | Fully editable paths | Limited — pixel based |
When Should You Convert SVG to PNG?
SVG is the better format for logos and icons in most cases — but there are plenty of situations where you need a PNG version.
- The platform doesn’t accept SVG — Most social media platforms, email clients, and many websites only accept PNG, JPG, or WebP. SVG uploads are rejected. You need a PNG version to use the image there.
- The app can’t open SVG — Many basic image viewers and editing apps don’t support SVG. Opening the file in Paint on Windows, basic photo editors on phone, or inserting into a Word document all work fine with PNG but fail with SVG.
- You need a specific pixel dimension — SVG scales infinitely but some platforms need an exact pixel size. Converting to PNG at the correct dimensions gives you a file that fits precisely.
- You’re creating a thumbnail or preview — Social media profile pictures, website thumbnails, and app icons often need PNG at a specific size. Convert your SVG to PNG at the right dimensions for each platform.
- You need to share with someone who can’t open SVG — SVG opens in design tools and browsers but not in basic Windows or phone viewers. Send a PNG and it opens anywhere.
When Should You Convert PNG to SVG?
Going the other direction — PNG to SVG — is useful in a different set of situations.
- You need the image to scale to any size — If a PNG logo or icon needs to appear sharp on a huge banner, large screen, or print output, converting to SVG removes the resolution limit permanently.
- You’re using a cutting machine — Cricut and Silhouette cutting machines work with vector SVG files. If you have a PNG image you want to cut, you need to convert it to SVG first.
- You want to edit individual elements — SVG files let you edit paths, change colours, and modify individual shapes in design tools like Adobe Illustrator and Inkscape. PNG files don’t allow this kind of editing.
- You want a smaller file for web use — A simple logo that’s 150KB as PNG can be under 5KB as SVG. For logos that appear on every page of a website, switching to SVG loads faster and takes up almost no bandwidth.
- Your design tool requires a vector file — Print shops, sign makers, and embroidery machines often require vector formats. SVG is a vector format and is widely accepted.
How to Convert SVG to PNG Free Online
The Fastest Method — Any Device
Using a free online converter is the quickest way to convert SVG to PNG without any software. Works on Windows, Mac, iPhone, Android, and Chromebook.
- Go to imageconvertertools.com/svg-to-png
- Click upload or drag your SVG file into the box
- Set your target dimensions if needed — width and height in pixels
- The tool converts automatically
- Click Download to save your PNG file
You can upload multiple SVG files at once and convert them all in a single batch. Files are deleted from the server automatically after conversion.
Pros:
- Works on every device with a browser
- Set exact pixel dimensions for the output PNG
- Handles multiple files at once
- Free — no watermarks, no sign-up, no limits
- Results in under 10 seconds
Cons:
- Needs an internet connection
- Less control over advanced SVG rendering settings
- Not ideal for very complex SVGs with custom fonts
Setting the Right Output Dimensions
This is the most important part of SVG to PNG conversion. Because SVG is infinitely scalable, you need to tell the converter what size PNG you want. Think about where the PNG will be used and set dimensions accordingly.
| Use Case | Recommended PNG Dimensions |
|---|---|
| Website logo | 400 × 200px (2x for retina: 800 × 400px) |
| Social media profile picture | 400 × 400px |
| Facebook or LinkedIn post | 1200 × 630px |
| Twitter header | 1500 × 500px |
| App icon | 1024 × 1024px |
| Favicon | 32 × 32px |
| Print at 4×6 inches | 1200 × 1800px at 300 DPI |
| YouTube thumbnail | 1280 × 720px |
Always set the dimensions before converting — a PNG exported at the wrong size will be blurry if you try to scale it up later. Our article on best image size for website covers the correct dimensions for every web use case in detail.
How to Convert SVG to PNG on Windows
Using a Browser on Windows
The simplest method on Windows with no software changes.
- Open Chrome or Edge
- Go to imageconvertertools.com/svg-to-png
- Upload your SVG file
- Set your target width and height
- Convert and download the PNG
Using Inkscape on Windows — Free Desktop Software
Inkscape is a free, open-source vector editor that handles SVG to PNG conversion with full control over output dimensions and quality. It’s the best free desktop option for SVG work on Windows.
- Download and install Inkscape from inkscape.org — it’s completely free
- Open your SVG file in Inkscape
- Go to File > Export PNG Image (or press Shift + Ctrl + E)
- The Export PNG panel opens on the right
- Set your export dimensions — enter width and height in pixels
- Click Export As to choose your save location
- Click Export to save the PNG
Inkscape gives you the most control over SVG to PNG conversion on Windows. You can set exact DPI, export specific parts of the SVG, and handle complex SVGs with custom fonts correctly.
Opening SVG in a Browser and Screenshotting
For a quick rough conversion without any tools:
- Drag the SVG file into Chrome or Edge
- The SVG opens in the browser at full quality
- Press Windows + Shift + S to take a screenshot of the SVG
- This saves a PNG of whatever’s visible on screen
This is not precise — the dimensions depend on your browser window size — but it works for a quick one-off where exact dimensions don’t matter.
How to Convert SVG to PNG on Mac
Using Preview on Mac
Preview on Mac opens SVG files and can export them as PNG. This is the simplest method on Mac with no extra software.
- Open your SVG file in Preview — right-click the file and choose Open With > Preview
- Go to File > Export
- Select PNG from the Format dropdown
- Click Save
One thing to watch with Preview: Preview exports the SVG at its default document size — it doesn’t let you set custom pixel dimensions during export. If you need the PNG at a specific size, resize after exporting using the Image Resizer, or use Inkscape for more control.
Using Inkscape on Mac
Inkscape is available for Mac and gives you full control over export dimensions.
- Download Inkscape from inkscape.org
- Open your SVG in Inkscape
- Go to File > Export PNG Image
- Set your target width and height in pixels
- Click Export As and choose your save location
- Click Export
Using Safari to Open and Export
- Drag the SVG into Safari — it opens in the browser
- Right-click the image in Safari
- Select Save Image As
- Safari may save it as PNG depending on how the SVG is structured
This works for simple SVGs but is unreliable for complex ones. Inkscape or the online tool gives more consistent results.
How to Convert SVG to PNG on iPhone
iPhones can display SVG files in Safari but the Photos app doesn’t handle SVG files natively. For converting SVG to PNG on iPhone, the browser method is the most reliable.
- Open Safari on your iPhone
- Go to imageconvertertools.com/svg-to-png
- Tap upload and select your SVG from Files
- Set your target dimensions
- Tap Convert
- Download the PNG to your Files app
If the SVG is stored in iCloud Drive or another cloud service, you can access it through the Files app picker when uploading.
How to Convert SVG to PNG on Android
- Open Chrome on your Android device
- Go to imageconvertertools.com/svg-to-png
- Tap upload and select your SVG
- Set dimensions if needed
- Tap Convert
- Download the PNG to your Downloads folder
Works on all Android devices regardless of brand or version.
How to Convert PNG to SVG
What Happens During PNG to SVG Conversion
It’s more complex to convert PNG to SVG than SVG to PNG. PNG is pixel based – it has a fixed grid of pixels. SVG is vector based, it stores mathematical paths. Converting pixels to paths is a process known as tracing or vectorization.
The tracing process analyzes the pixel data in the PNG and attempts to draw vector paths that approximate the shapes in the image. Tracing works very well for simple images – logos with flat colours, bold icons, high-contrast clipart, etc. The output is clean SVG. If the photo is complex, or has lots of color and gradients, then tracing will result in a messy, large file that doesn’t look much better than the original PNG.
PNG images that convert well to SVG:
- Logos with flat colours and hard edges
- Simple icons and symbols
- Black and white line art
- Bold clipart with clear outlines
- High-contrast graphics
PNG images that don’t convert well to SVG:
- Photographs of people, landscapes, or products
- Images with gradients and soft shadows
- Low-resolution or blurry PNGs
- Images with many fine details and texture
How to Convert PNG to SVG Free Online
Using Our Free Online Converter
- Go to imageconvertertools.com/png-to-svg
- Click upload or drag your PNG into the box
- The tool traces the PNG and converts to SVG
- Preview the result — check the edges look clean
- Download the SVG file
For simple logos and icons with flat colours, the online converter produces clean SVG output in seconds. For complex images, you may want to use Inkscape for more control over the tracing settings.
Tips for best online PNG to SVG results:
- Use a high-contrast PNG with clear edges — the cleaner the original, the better the SVG
- Remove the background before converting — a transparent PNG traces more cleanly than one with a white background. Our guide on how to remove background from image covers the fastest ways to do this
- Simple flat-colour images trace best — avoid photographs
- If the preview looks rough, try cleaning up the PNG first and re-uploading
How to Convert PNG to SVG in Inkscape
Inkscape is the most powerful free tool for PNG to SVG conversion. It has a built-in Trace Bitmap feature with detailed settings for controlling how the tracing works.
Step-by-Step PNG to SVG in Inkscape
- Download and install Inkscape from inkscape.org — completely free
- Open Inkscape and go to File > Import
- Select your PNG file and click Open
- Click on the imported PNG image to select it
- Go to Path > Trace Bitmap in the top menu
- The Trace Bitmap panel opens
- Choose your tracing mode:
- Brightness Cutoff — good for simple black and white images
- Edge Detection — good for line art and outlines
- Colors — good for multi-colour logos and icons
- Adjust the threshold — higher values include more detail, lower values simplify
- Click Apply — a vector path appears on top of the original PNG
- Click the original PNG underneath and delete it
- You now have a clean SVG
- Go to File > Save As and choose SVG format
Inkscape Tracing Tips
The Trace Bitmap settings make a huge difference to the quality of the output. Here are the most useful settings:
- Smooth — tick this to get smoother curved edges instead of jagged paths
- Stack scans — for colour images, this creates overlapping colour layers that look more accurate
- Remove background — tick this when tracing a logo on a white background to remove the white automatically
- Preview — always check the preview before clicking Apply to see if the result looks clean
For logos with 2 to 5 flat colours, use the Colors mode with Stack scans enabled. Set the number of colours to match the logo — a 3-colour logo works best with 3 scans. For simple black and white line art, use Brightness Cutoff with a threshold around 0.5.
How to Convert PNG to SVG for Cricut
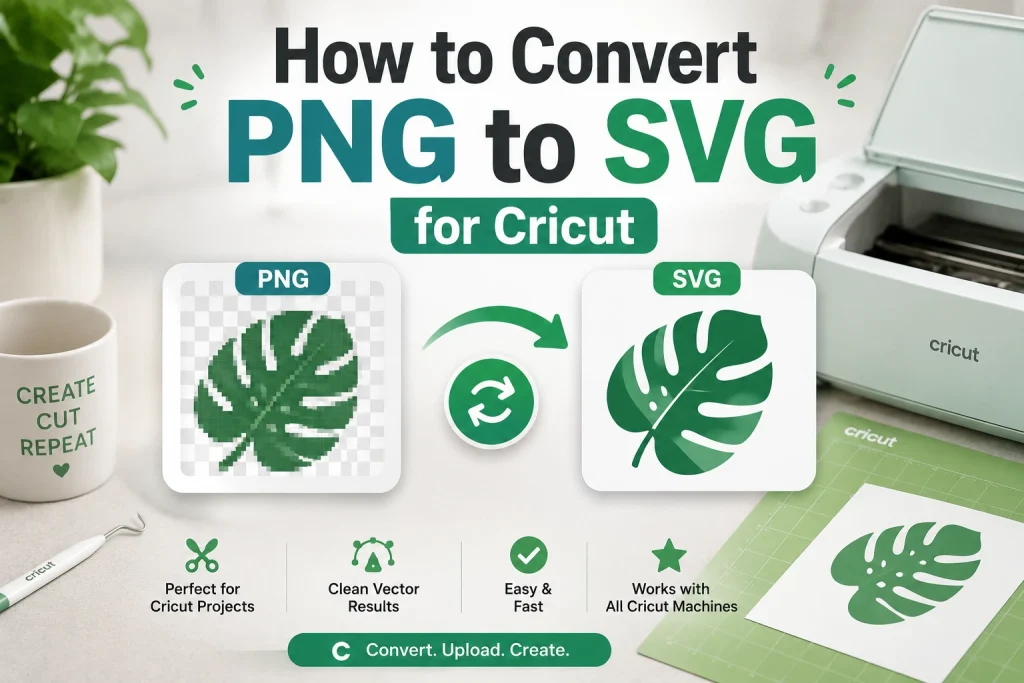
Cricut cutting machines work with SVG files. If you have a PNG design you want to cut with Cricut, you need to convert it to SVG first.
Method 1 — Using the Online Converter
- Convert your PNG to SVG using our online tool
- Download the SVG
- Open Cricut Design Space
- Click Upload
- Select your SVG file
- Place it on the canvas and start cutting
Method 2 — Using Cricut Design Space Directly
Cricut Design Space has its own image tracing feature for PNGs.
- Open Cricut Design Space
- Click Upload > Upload Image
- Select your PNG
- Choose the complexity — Simple, Moderately Complex, or Complex
- Use the tracing tools to clean up the image
- Save as a Cut Image
- Insert into your canvas
Tips for Cricut PNG to SVG Conversion
- High-contrast images with clear edges cut best
- Remove the background from the PNG before converting — a clean transparent PNG traces much more accurately
- Simple clipart and bold logos give the best cutting results
- Avoid using photographs — they trace poorly and produce cuts that don’t look right
- After tracing, zoom in on the SVG paths in Design Space to check the edges are clean before cutting
Our article on how to convert JPG to SVG covers SVG conversion for Cricut and Silhouette in more detail including tips for getting the cleanest possible cut lines.
How to Convert PNG to SVG for Silhouette
Silhouette Studio has its own trace feature similar to Cricut Design Space.
- Open Silhouette Studio
- Go to File > Open and select your PNG
- Click on the image and select Trace from the right panel
- Use the Trace Area tool to select the image
- Adjust the threshold until the trace outline looks clean and accurate
- Click Trace
- Delete the original PNG
- Go to File > Save As and choose SVG
For the best Silhouette results, start with a high-contrast PNG that has a transparent background. The cleaner the original PNG, the cleaner the Silhouette trace will be.
PNG to SVG Quality — What to Expect
Understanding what quality to expect saves frustration. Here’s an honest guide:
| PNG Type | SVG Result | Quality |
|---|---|---|
| Simple logo — 2 to 3 flat colours | Clean, smooth paths | Excellent |
| Bold black and white icon | Sharp, accurate outline | Excellent |
| Simple clipart | Good paths with minor cleanup | Good |
| Screenshot with text | Rough, complex paths | Poor |
| Photograph | Very messy — unusable | Very Poor |
| Low-resolution PNG | Rough edges, inaccurate | Poor |
| High-resolution graphic | Better accuracy | Good |
For photographs and complex images, SVG conversion is not the right approach. SVG is for graphics, logos, and illustrations — not photographic content. If you need a photograph to scale without quality loss, look into AI upscaling instead.
SVG to PNG vs PNG to SVG — Which Direction Do You Need?
| Your Goal | Direction | Reason |
|---|---|---|
| Upload logo to social media | SVG → PNG | Social platforms need PNG |
| Use logo in Word or PowerPoint | SVG → PNG | Office apps don’t handle SVG well |
| Print at large size | SVG → PNG or keep SVG | SVG scales perfectly for print |
| Edit logo paths and colours | PNG → SVG | SVG allows path-level editing |
| Use with Cricut or Silhouette | PNG → SVG | Cutting machines need SVG |
| Make logo sharper at any size | PNG → SVG | SVG scales without blurring |
| Share image in email | SVG → PNG | Email clients don’t render SVG |
| Reduce logo file size for website | PNG → SVG | Simple SVGs are much smaller |
Common Mistakes to Avoid
Converting a photograph to SVG. Photographs don’t trace well to SVG. The result is a massive, messy file that looks worse than the original PNG. Only convert graphics, logos, and simple illustrations to SVG — never photographs.
Exporting SVG to PNG at too small a size. If you export a logo SVG to PNG at 100 × 50px and then need it at 400 × 200px later, you’ll have to re-export from the SVG. Always export at the largest size you might need — you can always scale PNG down but not up without losing quality.
Not removing the background before PNG to SVG conversion. A PNG logo on a white background traces the white background as part of the SVG — you end up with a white rectangle behind the logo paths. Remove the background from the PNG first, then convert. Our Image Background Remover handles this in seconds.
Ignoring the preview in tracing tools. Always check the preview in Inkscape or your converter before finalising the trace. A bad trace setting produces a messy SVG that needs significant cleanup. One minute spent checking the preview saves ten minutes of fixing paths later.
Using a low-resolution PNG for SVG conversion. The higher the resolution of the source PNG, the more accurately the tracer can follow the edges and produce clean paths. Always start with the highest resolution version of the PNG you have.
Frequently Asked Questions
1. How do I convert SVG to PNG for free?
Go to imageconvertertools.com/svg-to-png, upload your SVG, set your target dimensions, and download the PNG. Completely free — no sign-up, no watermarks, no file limits. Works on any device with a browser.
2. How do I convert PNG to SVG for free?
Go to imageconvertertools.com/png-to-svg, upload your PNG, and download the SVG. Works best for logos, icons, and simple graphics with flat colours. For more control over the tracing settings, use the free Inkscape desktop software.
3. Does converting SVG to PNG lose quality?
No — as long as you export at the correct pixel dimensions. SVG scales to any size without quality loss. Set the output dimensions to match where you’ll use the PNG. If you later need the PNG at a larger size, go back to the SVG and re-export at the new dimensions.
4. Does converting PNG to SVG improve quality?
For logos and simple graphics, yes — the SVG version scales to any size without blurring. But for photographs and complex images, the conversion produces poor results. PNG to SVG works best on simple, high-contrast images with flat colours and hard edges.
5. How do I convert SVG to PNG on Mac?
Open the SVG in Preview and go to File > Export > PNG. For specific pixel dimensions, use Inkscape — go to File > Export PNG Image and set your target width and height. The online converter also works in Safari on any Mac.
6. How do I convert SVG to PNG on Windows?
Use the online converter in Chrome or Edge. For more control, download the free Inkscape software — open your SVG, go to File > Export PNG Image, set dimensions, and export. Both methods are free.
7. Can I convert PNG to SVG for Cricut?
Yes. Convert your PNG to SVG using our online converter or Inkscape, then upload the SVG to Cricut Design Space. For best cutting results, use a high-contrast PNG with a transparent background and simple shapes. Our article on how to convert JPG to SVG covers Cricut conversion in detail.
8. What size PNG should I export from an SVG?
It depends on where you’ll use it. For social media profile pictures use 400 × 400px. For website logos use 400 × 200px or 2x at 800 × 400px for retina screens. For print at 4 × 6 inches use 1200 × 1800px. Always export at the largest size you might need — you can scale down later but not up.
9. Why does my PNG to SVG look rough and messy?
This usually means the source PNG has a complex background, low resolution, or too much fine detail. Try removing the background from the PNG first, increasing the resolution, or using a simpler, higher-contrast version of the image. For very complex images, PNG to SVG conversion may not give good results.
10. Should I use SVG or PNG for my website logo?
SVG is better for website logos in almost every case. SVG files are smaller — often 10 to 50 times smaller than PNG — and look perfectly sharp on all screen sizes and retina displays. Use SVG for the logo on your website and keep a PNG version for platforms that don’t accept SVG. Our article on best image format for websites explains when to use SVG vs PNG in detail.
Conclusion
SVG and PNG serve two different purposes and knowing how to convert from one to the other in either direction gives you total flexibility. When you need a standard compatible image for social media, email, apps or platforms that don’t accept SVG, convert SVG to PNG. Convert PNG to SVG if you want a logo or graphic that can be resized for any purpose without losing quality — or if you want a vector file for Cricut, Silhouette or professional printing.
It transcodes both ways fast on any device without requiring any software. Inkscape on Windows/Mac offers you the most control for complex conversions. It is completely free. Preview on Mac will convert SVG to PNG without any extra software.
Use our free tools to convert in either direction right now — SVG to PNG and PNG to SVG — no sign-up, no watermarks, multiple files at once, completely free on every device.