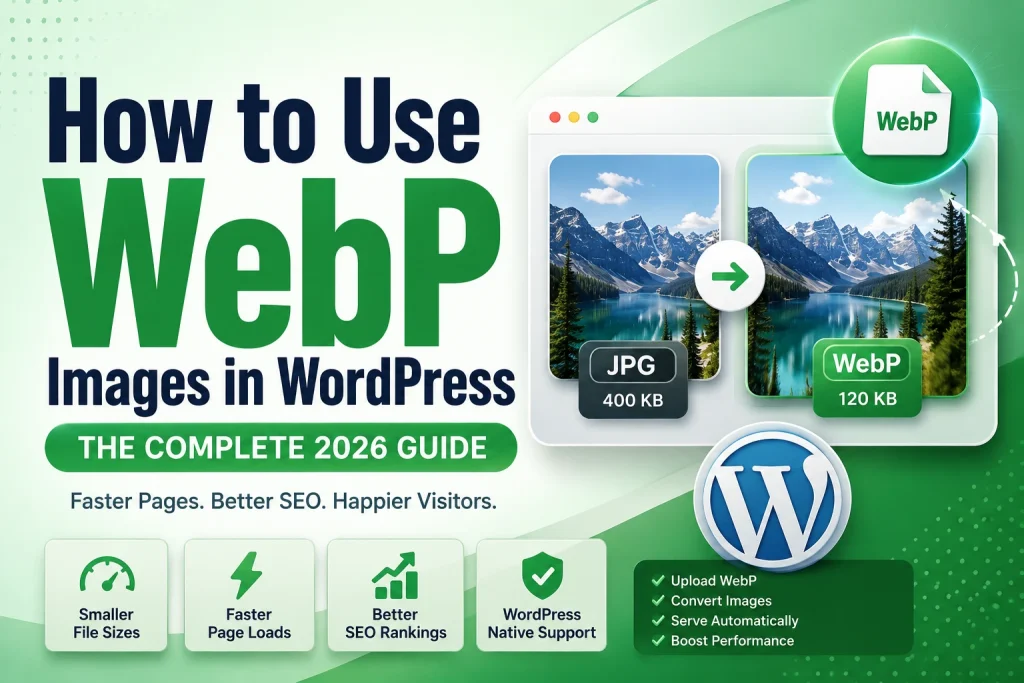
WebP images are 25 to 35 percent smaller than JPG and PNG at the same visual quality — and WordPress has supported WebP natively since version 5.8, released in July 2021. Switching your WordPress website to WebP images reduces page loading times, improves your Core Web Vitals scores, and directly helps your Google search rankings. The best part is you can do all of this without paying for any premium plugins.
This guide covers everything about using WebP images in WordPress in 2026. How to upload WebP files, how to convert existing images, how to serve WebP automatically, how to handle fallbacks for older browsers, which plugins actually help versus which ones you don’t need, and practical tips that most WordPress guides never mention.
Why WebP Matters for WordPress Websites
Most WordPress websites are running with unoptimised JPG and PNG images. Every unoptimised image adds unnecessary loading time to every page that contains it. For a blog post with 8 images averaging 400KB each, that’s 3.2MB of image data per page load. Switch those same images to WebP at the same quality and you might be looking at 2MB total — saving over a megabyte on every single page load for every single visitor.
That saving compounds fast. If your blog gets 10,000 visitors per month and each visitor loads an average of 3 pages, that’s 30,000 page loads. Saving 1MB per page load means saving 30GB of bandwidth every month — and delivering noticeably faster pages to every visitor.
WordPress powers over 43 percent of all websites on the internet in 2026. Most of them are not using WebP. Getting WebP right on your WordPress website puts you ahead of the majority of websites competing for the same search rankings.
According to Google’s Core Web Vitals documentation, image optimisation is one of the primary factors affecting Largest Contentful Paint — the Core Web Vitals metric Google uses as a ranking signal. WebP conversion is one of the fastest ways to improve your LCP score and your search rankings simultaneously.
Does WordPress Support WebP in 2026?
Native WebP Support Since WordPress 5.8
Yes — WordPress added full native WebP support in version 5.8 in July 2021. If your WordPress installation is up to date (and it should be for security reasons), you can upload WebP images directly to your media library just like you upload JPG and PNG files. No plugins required for basic WebP upload support.
In WordPress 6.1 and later, WebP support was extended further. WordPress now generates WebP versions of uploaded images automatically when the server environment supports it. This means uploading a JPG image can automatically create a WebP version that WordPress serves to compatible browsers.
To check your WordPress version, go to your Dashboard and look at the bottom right corner — it shows your current WordPress version. If you’re below 5.8, update immediately — not just for WebP support, but for security.
Server Requirements for WebP
Your hosting server needs to support WebP image processing for WordPress to handle WebP files correctly. Specifically, your server needs either the GD library or Imagick (ImageMagick) PHP extension with WebP support compiled in.
Most modern hosting providers — including all major managed WordPress hosts — support this by default in 2026. To check if your server supports WebP, install the free Health Check & Troubleshooting plugin and look at the Site Health section. It will tell you if your server environment is WebP-compatible.
If your server doesn’t support WebP, contact your hosting provider — most can enable it quickly. Alternatively, switching to a more capable hosting plan or provider solves this immediately.
How to Upload WebP Images to WordPress
Direct Upload — The Simple Method
Uploading WebP images to WordPress works exactly like uploading any other image format. The process is identical to uploading JPG or PNG files.
- Go to Media > Add New in your WordPress dashboard
- Click Select Files or drag and drop your WebP file into the upload area
- WordPress processes the file and adds it to your media library
- Click on the uploaded WebP image to add alt text, title, and caption
- Insert the image into your posts and pages as normal
That’s it. WordPress handles WebP files the same way it handles JPG and PNG — it generates multiple sizes, stores them in your uploads folder, and serves them through standard image tags.
Converting Images Before Uploading
The cleanest approach for WebP in WordPress is converting your images to WebP before uploading. This way your media library contains properly formatted WebP files from the start — rather than a mix of JPG, PNG, and WebP files that gets harder to manage over time.
For photographs and complex images, use our JPG to WebP converter to convert before uploading. For graphics, logos, and transparent images, use our PNG to WebP converter. Both tools support multiple file uploads — convert your whole batch before uploading to WordPress.
This approach gives you full control over the output quality and file size before anything touches your WordPress media library. It also means you don’t need any conversion plugins at all — WordPress just receives ready-to-use WebP files and handles them natively.
How to Convert Existing WordPress Images to WebP
The Challenge With Existing Images
If your WordPress website has been running for months or years, your media library probably contains hundreds or thousands of JPG and PNG images. You can’t realistically re-upload all of them manually. You need a systematic approach to convert existing images to WebP.
There are two main approaches — using a WordPress plugin to handle conversion automatically, or downloading images in batches, converting them, and re-uploading. Each has trade-offs depending on your situation.
Method 1 — Using a WordPress Plugin
Several WordPress plugins handle WebP conversion of existing media library images. Here’s an honest assessment of the main options.
Smush (Free tier available)
Smush is one of the most popular image optimisation plugins for WordPress. The free version compresses images but WebP conversion is locked behind the Smush Pro paid plan. If you specifically need WebP conversion through a plugin, the free tier won’t cover it. The paid plan starts at around $7.50 per month.
ShortPixel (Free tier available)
ShortPixel converts images to WebP and compresses them. The free plan gives you 100 image conversions per month — enough for a small website but limiting for larger sites. Paid plans start at $3.99 per month for 5,000 images. ShortPixel is reliable and well-regarded in the WordPress community.
Imagify (Free tier available)
Imagify from WP Media converts images to WebP and optimises them. The free plan allows 20MB of image processing per month — which is very limited for a real website. Paid plans start at $4.99 per month.
Converter for Media (Free)
This is a genuinely free plugin with no paid tier required for WebP conversion. It converts your existing media library images to WebP and serves WebP to compatible browsers with automatic fallback. For website owners who want plugin-based WebP conversion without ongoing subscription costs, this is a strong option.
The honest recommendation: If your website is small and you upload images regularly, convert to WebP before uploading using our free converter tools and skip conversion plugins entirely. If you have a large existing media library with hundreds of images that need converting, a plugin handles the bulk work — but weigh the ongoing subscription cost against the one-time effort of bulk downloading, converting, and re-uploading.
Method 2 — Bulk Download, Convert, and Re-Upload
For website owners who don’t want ongoing plugin subscriptions, this manual approach works well for sites with manageable image libraries.
- Download your media library images — you can do this via FTP or by using a plugin like Export Media Library
- Convert all images to WebP in batches using our Image Compressor and converter tools
- Re-upload the WebP versions to WordPress
- Update image references in posts and pages
The main drawback is that WordPress stores image URLs in your post content — if you replace files without updating URLs, the old non-WebP images will still be referenced in your posts. Use a plugin like Better Search Replace to update image URLs sitewide after re-uploading.
How to Serve WebP Images in WordPress
WordPress 6.1+ Automatic WebP Generation
From WordPress 6.1 onwards, WordPress can automatically generate WebP versions of uploaded JPG and PNG images, storing both the original and the WebP version. When a compatible browser requests an image, WordPress serves the WebP version. When an older browser requests the same image, WordPress serves the original JPG or PNG as a fallback.
This feature depends on your server having WebP support in GD or Imagick. If your server supports it, this automatic generation is enabled by default — you don’t need to do anything beyond having a current WordPress installation.
To verify this is working, upload a JPG image to your media library and then check your uploads folder via FTP or your hosting file manager. If you see both the original JPG and a .webp version of the same file, automatic WebP generation is working correctly on your server.
Using the HTML Picture Element
For manually inserted images or images added through custom templates, the HTML picture element lets you serve WebP to supporting browsers with automatic fallback for older ones.
html
<picture>
  <source srcset="your-image.webp" type="image/webp">
  <img src="your-image.jpg" alt="Description of your image" width="1200" height="628">
</picture>
This serves the WebP version to Chrome, Firefox, Safari, and Edge — which covers over 96 percent of global browser users. The remaining users on very old browsers get the JPG fallback automatically. No JavaScript needed — it’s a native browser feature.
Serving WebP via .htaccess
For Apache-based hosting, you can serve WebP images automatically using .htaccess rules without any plugins. This approach requires both a WebP and a JPG/PNG version of each image to exist on the server.
Add these rules to your .htaccess file:
apache
<IfModule mod_rewrite.c>
  RewriteEngine On
  RewriteCond %{HTTP_ACCEPT} image/webp
  RewriteCond %{REQUEST_FILENAME} (.*)\.(jpe?g|png)$
  RewriteCond %{REQUEST_FILENAME}.webp -f
  RewriteRule ^ %{REQUEST_FILENAME}.webp [L,T=image/webp]
</IfModule>

<IfModule mod_headers.c>
  Header append Vary Accept env=REDIRECT_accept
</IfModule>
These rules check if the visitor’s browser accepts WebP — if yes, and if a WebP version of the requested image exists, it serves the WebP version instead of the JPG or PNG. Browsers that don’t support WebP get the original file automatically.
This is a powerful approach but requires careful testing after implementation. Make sure your caching configuration is set up correctly alongside these rules — specifically that your CDN and browser cache understand the Vary: Accept header.
WebP and WordPress Caching
Why Caching Configuration Matters for WebP
When you serve different image formats to different browsers based on the Accept header — WebP to modern browsers, JPG to older ones — your caching setup needs to understand this variation. If a caching layer stores the WebP version for one user and then serves that cached WebP version to an older browser that can’t handle it, the image breaks.
This is handled by the Vary: Accept header, which tells caching systems that the response varies based on what the browser accepts. Most major caching plugins handle this correctly, but it’s worth verifying.
Popular WordPress Caching Plugins and WebP
WP Rocket — One of the most popular paid caching plugins for WordPress. WP Rocket handles WebP serving correctly and includes image optimisation features. If you use WP Rocket, check the Media settings and enable WebP caching.
W3 Total Cache — Free caching plugin that supports WebP serving. Configure the Browser Cache settings to include WebP-specific caching rules.
LiteSpeed Cache — Free plugin for LiteSpeed servers with built-in WebP conversion and correct caching. If your host uses LiteSpeed server technology (Hostinger, A2 Hosting, and many others), LiteSpeed Cache is one of the best free options for complete WebP handling.
WP Super Cache — Basic free caching plugin. Handles standard caching well but needs manual configuration for WebP-specific caching.
Testing WebP Delivery
After setting up WebP serving, always verify it’s actually working. The simplest test is using Chrome DevTools:
- Open your website in Chrome
- Press F12 to open Developer Tools
- Go to the Network tab
- Refresh the page
- Filter by Img to see all image requests
- Check the Type column — images being served as WebP will show
webpas the content type
If you see jpeg or png instead of webp for images that should be serving as WebP, your configuration needs adjustment. Check your .htaccess rules, your plugin settings, or your caching configuration.
WebP and WordPress Page Builders
How Page Builders Handle WebP
Most modern WordPress page builders handle WebP images correctly in 2026. Elementor, Divi, Beaver Builder, and Bricks Builder all display WebP images without any issues when you upload them. The image simply needs to be in your media library as a WebP file — the page builder treats it like any other image.
Elementor and WebP
Elementor works natively with WebP images. Upload your WebP file to the media library and insert it into Elementor sections and widgets exactly as you would a JPG or PNG image. Elementor Pro’s image optimisation features also include WebP support.
One thing to watch with Elementor — if you’re using Elementor’s built-in image editor (crop, resize, flip), make sure your server’s image processing supports WebP editing. Most current servers do, but older server environments may revert edited images to JPG.
Divi and WebP
Divi by Elegant Themes supports WebP images in the media library and in Divi modules. Upload WebP files and use them in Divi exactly as you would any other image format. The Divi Builder displays WebP images correctly in both the visual editor and on the front end.
WooCommerce Product Images and WebP
WooCommerce product images work with WebP in current versions. Upload WebP product images to your media library and assign them to products as you normally would. WooCommerce generates product thumbnail sizes from the uploaded image — if your server supports WebP processing, these thumbnails are also generated in WebP.
For WooCommerce stores with large product catalogues, converting product images to WebP before uploading is especially valuable. Faster product pages reduce bounce rates and improve conversion rates — and product category pages with dozens of product thumbnails benefit enormously from WebP’s smaller file sizes.
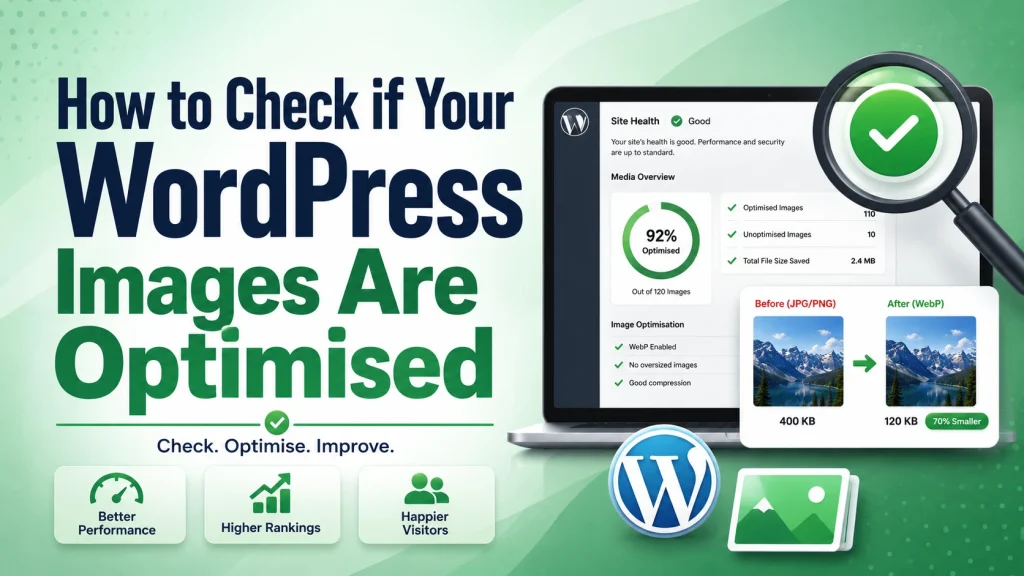
How to Check if Your WordPress Images Are Optimised
Using Google PageSpeed Insights
Go to Google PageSpeed Insights and enter your WordPress website URL. Run the test and look for these specific recommendations:
“Serve images in next-gen formats” — This directly flags images that are being served as JPG or PNG instead of WebP. It shows exactly which images need converting and how much data could be saved.
“Properly size images” — This flags images where the file dimensions are larger than the display dimensions. Resize these images to match their display size.
“Efficiently encode images” — This flags images that could be compressed further without quality loss.
Work through each flagged image systematically. Convert to WebP using our converter tools, compress if needed, re-upload, and run the test again. Each fixed image improves your PageSpeed score.
Using Google Search Console
Google Search Console shows your Core Web Vitals performance based on real user data from people who visit your site. Go to Experience > Core Web Vitals to see your LCP, CLS, and INP scores across your pages.
Pages marked as Poor or Needs Improvement are your priority targets. Click through to see which URLs are underperforming and use the PageSpeed Insights link to identify the specific images causing issues on those pages.
Manual Inspection
To quickly check if a specific image on your WordPress site is being served as WebP, right-click the image in Chrome and select Inspect. Look at the src attribute of the image tag — if it ends in .webp, the image is being served in WebP format. If it ends in .jpg or .png, it’s not.
WordPress WebP Workflow — Step by Step
Here’s the exact workflow to follow for every image you add to your WordPress website going forward. This takes about 5 minutes per batch of images and ensures everything is properly optimised before it ever touches your WordPress media library.
Step 1 — Prepare the original image. Start with the highest quality version of the image you have. Don’t start from an already-compressed file if you can avoid it.
Step 2 — Resize to correct dimensions. Use our free Image Resizer to resize to the correct display dimensions. Hero images at 1920 × 1080px. Blog featured images at 1200 × 628px. Product images at 800 × 800px. Inline blog images at 800 to 1200px wide. Our article on best image size for website has the full reference table.
Step 3 — Convert to WebP. Convert the resized image to WebP using our JPG to WebP converter or PNG to WebP converter. Use lossless WebP for logos and graphics with sharp edges. Use lossy WebP for photographs and complex images.
Step 4 — Compress the WebP file. Run the converted WebP through our Image Compressor to reduce file size further. Aim for under 150KB for most images. Under 30KB for thumbnails. Under 200KB for hero images.
Step 5 — Rename the file. Give the file a descriptive name using hyphens — for example wordpress-webp-image-guide.webp. Descriptive file names are an image SEO signal. Our article on how to optimise images for SEO covers file naming and all other image SEO factors.
Step 6 — Upload to WordPress. Go to Media > Add New and upload the WebP file. Add descriptive alt text before using the image in any post or page.
Step 7 — Insert and configure. Insert the image into your post or page. Define width and height attributes. Add lazy loading for below-fold images. Check the image looks sharp and loads correctly.
Common WordPress WebP Problems and How to Fix Them
WebP Images Not Uploading
If you try to upload a WebP file and WordPress rejects it with an error about an unsupported file type, your server’s image processing library doesn’t have WebP support enabled. This is the most common WebP problem on older or poorly configured hosting environments.
Fix: Contact your hosting provider and ask them to enable WebP support in GD or Imagick. Most providers can do this quickly. Alternatively, move to a hosting provider that supports WebP — most quality hosts have supported it for several years now.
WebP Images Uploading But Displaying Broken
If WebP images upload successfully but display as broken images on the front end, there’s usually a configuration issue with how WordPress is serving the files or a CDN caching issue.
Fix: Clear all caches — WordPress cache, CDN cache, browser cache. If the image still displays broken after clearing all caches, check that the WebP file is actually in your uploads folder via FTP and that the file permissions allow the web server to read it.
PageSpeed Still Flagging Images After Converting to WebP
If you’ve converted images to WebP but Google PageSpeed Insights still flags them as needing next-gen format conversion, the page is probably still serving cached versions of the old JPG or PNG files.
Fix: Clear your WordPress cache, CDN cache, and any other caching layers. Wait 24 hours for Google’s PageSpeed cache to update and run the test again. If the issue persists, verify the images in the page source — right-click > View Page Source and search for your image file names to confirm WebP files are actually being referenced.
WebP Images Looking Lower Quality Than JPG
If your converted WebP images look noticeably worse than the original JPG versions, the conversion was done at too low a quality setting.
Fix: Re-convert from the original source image using a quality setting of 80 to 90 percent. Avoid converting from an already-compressed JPG — always convert from the highest quality source available. Our article on how to convert JPG to WebP covers quality settings and what to expect at different compression levels.
Thumbnails Not Being Generated in WebP
WordPress generates multiple thumbnail sizes when you upload an image. If your server doesn’t support WebP image processing, these thumbnails get generated in JPG or PNG even when you upload a WebP source file.
Fix: Check your server’s WebP processing support in Site Health. Contact your host to enable WebP support in image processing. Alternatively, generate and upload thumbnail sizes manually — though this is time-consuming for large media libraries.
WebP in WordPress — Plugin Recommendations
When You Don’t Need Any Plugin
If you follow the workflow above — converting images to WebP before uploading — you don’t need any WebP-specific plugin at all. WordPress 5.8+ handles WebP natively. Just upload WebP files and they work.
You also don’t need a plugin if WordPress 6.1+ is automatically generating WebP versions of your uploaded images — check if this is working by looking for .webp files alongside your JPG uploads in the uploads folder.
When a Plugin Helps
A WebP conversion plugin makes sense when you have a large existing media library of JPG and PNG images that you need to convert without re-uploading everything manually. It also helps if you want automatic conversion of new uploads without pre-processing images yourself.
Best free option: Converter for Media — converts existing images to WebP and serves them with automatic fallback. Completely free with no limits.
Best paid option if budget allows: ShortPixel — reliable, well-supported, handles conversion and compression together. Worth considering for busy websites with ongoing high image upload volumes.
Plugins to Avoid or Be Careful With
Be careful with plugins that promise WebP conversion in the free tier but then reveal limits or paywalls after you’ve installed them and started relying on them. Always check the actual free tier limits before installing — look for the pricing page on the plugin developer’s website, not just the WordPress plugin repository listing.
Also be careful with plugins that aggressively compress images without showing you a preview. Some plugins apply compression levels that visibly reduce image quality. Always check your images after any plugin-based conversion to confirm quality meets your standards.
Frequently Asked Questions
1. Does WordPress support WebP images in 2026?
Yes. WordPress has supported WebP image uploads natively since version 5.8 in July 2021. In WordPress 6.1 and later, WordPress can automatically generate WebP versions of uploaded JPG and PNG images. Keep your WordPress installation updated to benefit from the most complete WebP support.
2. Do I need a plugin to use WebP images in WordPress?
No. If you convert images to WebP before uploading, WordPress handles them natively with no plugins needed. Plugins are useful for bulk-converting an existing media library or for automatically converting new uploads without pre-processing. For new websites or sites with manageable image libraries, pre-converting before upload is the simplest approach.
3. How do I convert existing WordPress images to WebP?
Use a free WordPress plugin like Converter for Media to bulk-convert existing media library images. Or download images in batches, convert using our free conversion tools, and re-upload. For new images going forward, convert to WebP before uploading.
4. Will WebP images break my website on older browsers?
No — as long as you implement correct fallbacks. Use the HTML picture element with a WebP source and JPG fallback. WordPress 6.1+ handles this automatically for images in your content. WebP is supported by over 96 percent of global browsers in 2026 — the fallback covers only a very small percentage of visitors on very old browsers.
5. Does converting to WebP reduce image quality?
At quality settings of 80 to 90 percent, the quality difference between WebP and the original JPG is invisible at normal screen sizes. For lossless WebP conversion, quality is preserved exactly. Always convert from the highest quality source image available and use quality settings above 80 percent for lossy conversion.
6. How much will WebP improve my WordPress PageSpeed score?
Results vary depending on how many images your pages contain and how unoptimised they currently are. Websites moving from unoptimised JPG and PNG images to properly compressed WebP typically see PageSpeed score improvements of 10 to 30 points on mobile. The improvement is especially significant for pages with many images like blog posts, product category pages, and image-heavy landing pages.
7. Can WooCommerce use WebP product images?
Yes. WooCommerce works with WebP images in the media library just like standard WordPress. Upload WebP product images and assign them to products normally. WooCommerce generates product thumbnail sizes from the uploaded WebP file — as long as your server supports WebP image processing.
8. What’s the best WordPress hosting for WebP support?
Any quality managed WordPress host supports WebP in 2026 — including Kinsta, WP Engine, SiteGround, Cloudways, and Flywheel. Most shared hosting providers also support WebP now. If your current host doesn’t support WebP, that’s a sign you should consider switching regardless — hosts that don’t support WebP are likely behind on other important server technologies too.
9. How do I check if my WordPress site is serving WebP images?
Open your website in Chrome, press F12 to open Developer Tools, go to the Network tab, refresh the page, filter by Img, and check the content type column for each image. WebP images show as image/webp. Also run your site through Google PageSpeed Insights — if images are being served correctly as WebP, the “Serve images in next-gen formats” recommendation won’t appear.
10. Should I delete the original JPG and PNG files after converting to WebP?
No. Keep the original JPG and PNG files as backups. You may need them for print use, for sharing in contexts where WebP isn’t supported, or for future editing. Storage is cheap. Keeping originals costs very little and protects you from situations where you need a non-WebP version later.
Conclusion
Using WebP images in WordPress is one of the fastest and most impactful improvements you can make to your website’s performance in 2026. It reduces image file sizes by 25 to 35 percent, improves Core Web Vitals scores, speeds up page loading for every visitor, and directly helps your Google search rankings — all without spending money on premium plugins.
The workflow is straightforward. Convert images to WebP before uploading using free online tools. Upload directly to WordPress — it handles WebP natively. For existing images, use a free plugin or batch-convert and re-upload. Verify everything is working with PageSpeed Insights and Chrome DevTools. Fix anything that’s still flagged.
Start today with your most important pages — homepage, top blog posts, best product pages. Convert those images to WebP first, re-upload, and measure the improvement with PageSpeed Insights. Then work through the rest of your media library systematically.